
Hello Friends, Today we talk about the best web hosting for starting a WordPress blog. Many new bloggers make that mistake to buying a Hosting services from unreliable companies and they regret later. There are many issues in Free web hosting providing companies about which we talk later. In this step by step guide i will share every things which is essential to buy reliable web hosting and a domain name. Currently i using Bluehost as a Hosting services.
For the purpose of this tutorial, I will be using Bluehost, which is an officially recommended hosting service for WordPress by WordPress.org. As a bonus, with Bluehost, you will get one free domain name. Not only this save you money, it will also allow you to manage everything from one place.
For the purpose of this tutorial, I will be using Bluehost, which is an officially recommended hosting service for WordPress by WordPress.org. As a bonus, with Bluehost coupons, you will get one free domain name. Not only this saves you money, but it will also allow you to manage everything from one place. You can also use siteground or cloudways. They are also providing great hosting services. Here is the quick comparison for siteground vs bluehost and siteground vs cloudways.
You may read – Cloudways Coupon
Before we begin, here are a couple of things you need to know for knowledge:
1. Domain Name
A domain name is like your online address. This is where your blog lives. You will get one free domain name with Bluehost.
2. Payment Mode
When purchasing your web hosting and domain, you can make payment via credit card, debit card, or PayPal. Be sure while purchasing online be safe and protected.
Now Lets purchase our new hosting plan…
Step-by-step guide to buying a web hosting plan:
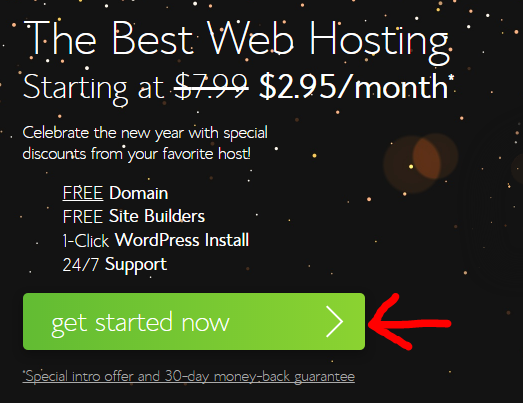
To start, first open Bluehost Site and click on “Get Started Now”.
After Click on Get Started Now, this will take you to three bluehost plan details from which you will choose one. 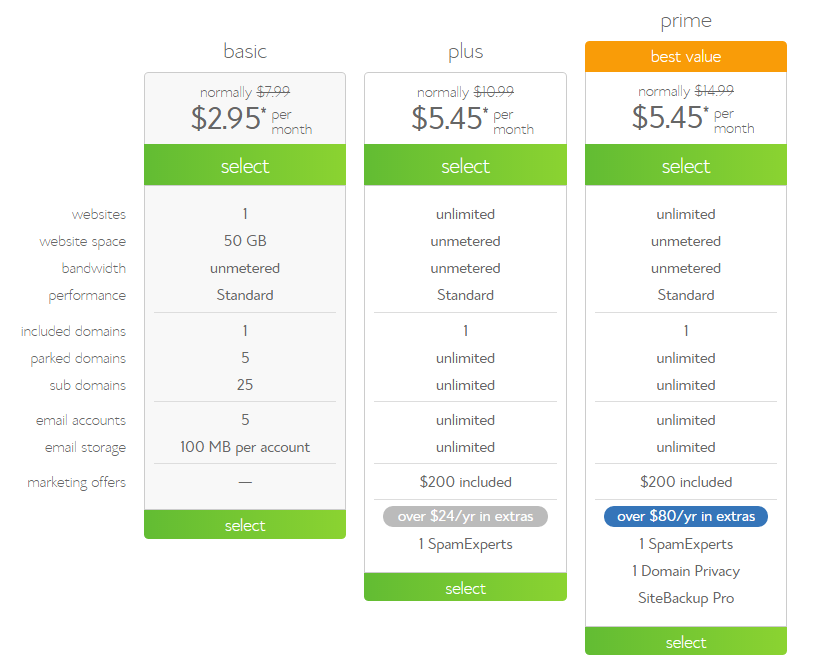
my recommendations:
- Running only one site: Basic
- Running more than one site: Plus
- Need SSL and dedicated I.P. address: Prime
Click on “select” in front of the plan you have chosen.
Step 1: Choose a new (free) domain, or use an existing domain.
After selecting your plan, you can either choose to get a free domain name from Bluehost or you can use any of your existing domain names.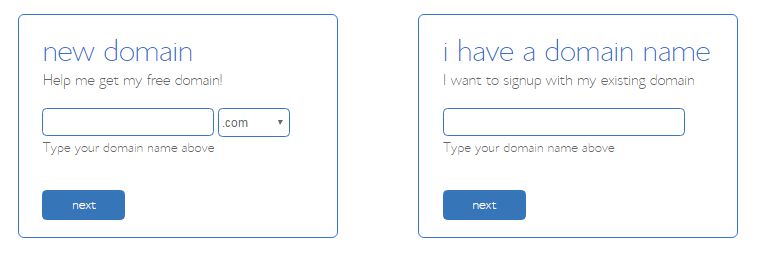
Note: you can use your free domain name later if you don’t need it now. If you are using an existing domain name, you need to change the nameservers at your domain registrar to:
- NS1.Bluehost.com
- NS2.Bluehost.com
Click on “next”, and from here, the remaining steps will be very simple.
Step 2: Enter your account details.
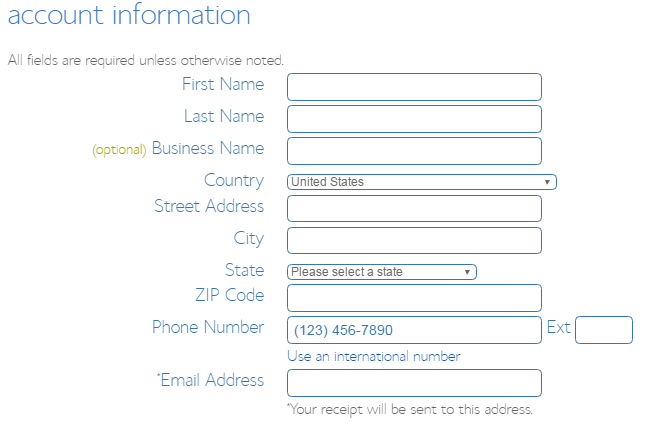
In this field, you need to enter your details (name, email address, address, etc.).
Note: Make sure your entering right details. especially your email address. Your login and hosting information will be sent to your email address.
Step 3: Select the right package.
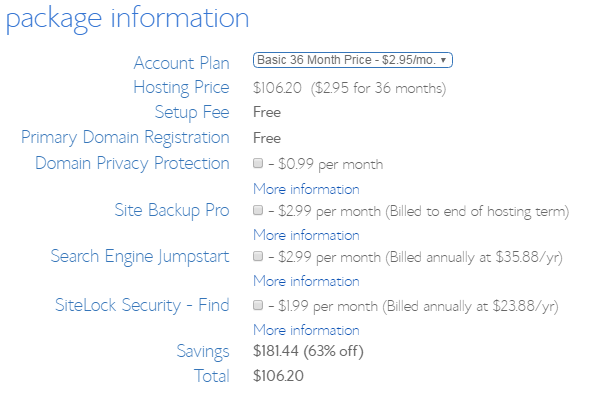
Note: deselect the options “Site Backup Pro” and “Sitelock Security” as you don’t really need them.
Step 4: Complete your hosting purchase.
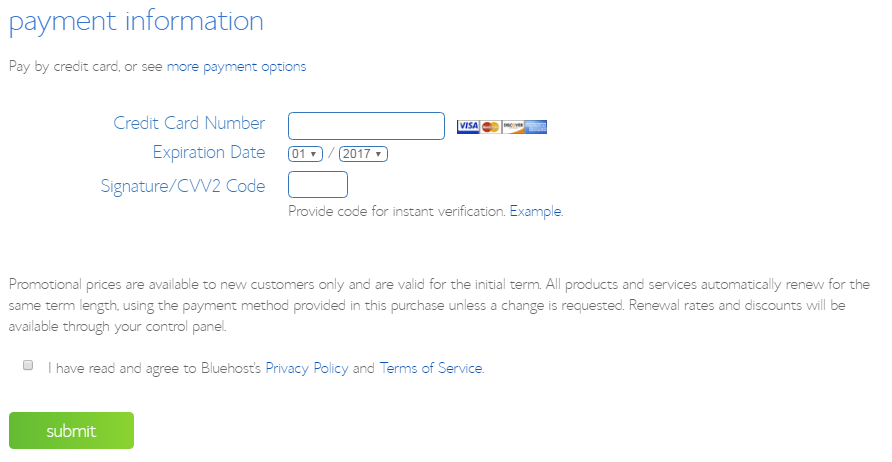
Before you make your payment, Make sure that you scroll up and verify all of the information once again.
By default, you will see only payment methods by credit card. But if you want to make payment through paypal. click on “more payment options” to get paypal as new option.
Step 5: Select a password.
This is the final stage of your web hosting purchase.
You have to choose a password, or you can use a password generator to create stronger password. Copy and paste the password in a safe place.
Click on “Create”, and that’s it!
Step 6: Log into your web hosting cPanel.
After making payment, you will receive a confirmation mail with your details. This mail containing your c-panel password and username.
Go to Bluehost, and click on “login” at the top.
In login field, Enter you username and password which you have chosen or generated.Click “submit”.
Now, You will inside your C-panel of hosting. That’s it..
Congratulations! You have just purchased your web hosting package and domain name. Hope you will enjoy this guide. If you like this please share with your friend.
Before ending this article, Let me tell you about the best WordPress hosting in India. WordPress hosting is much faster than the shared Hostings. Host4Geeks is a hosting company that provides faster and stable hosting services.
Happy Blogging… 🙂